Customize, install, and translate the chat BOT widget
This widget customization section explains how to manage your chat BOT widget appearance, structure, and behavior.
Widget Appearance
You can easily configure the branding and style of the chat BOT widget by selecting a ready-to-use theme and changing the primary and secondary colors. You can also decide to set a gradient to your primary color, display your logo (in this case, you just need to add a link to upload it), and set widget alignment. All these settings will affect the visualization on the web page where the widget will be added.

Widget Visibility
Turn on/off the visibility of the chat BOT widget on desktop or mobile devices and decide the behavior during page load.
This section allows to configure how the chat widget appears on both desktop and mobile versions of a website. These settings determine the widget's initial state when a user loads the page.
The “Desktop“ section controls the chat widget's behavior on desktop devices when the webpage is loaded. Instead, the “Mobile“ section controls the same behaviour but on mobile devices.
The available options are:
“Always Opened”: the chat widget will automatically open and be visible to users every time the page loads;
“Always Closed”: the chat widget will remain closed when the page loads. Users will have to click to open it if they wish to chat;
“As Last Status”: the chat widget will remember its state from the user's last visit. If the widget was open when they last left the site, it will open again; if it was closed, it will remain closed.

Single conversation
The “Single conversation” option allows website visitors to see, on the home page of the widget, either just one conversation at a time or multiple conversations (both completed and ongoing ones).

Multiple conversations enabled
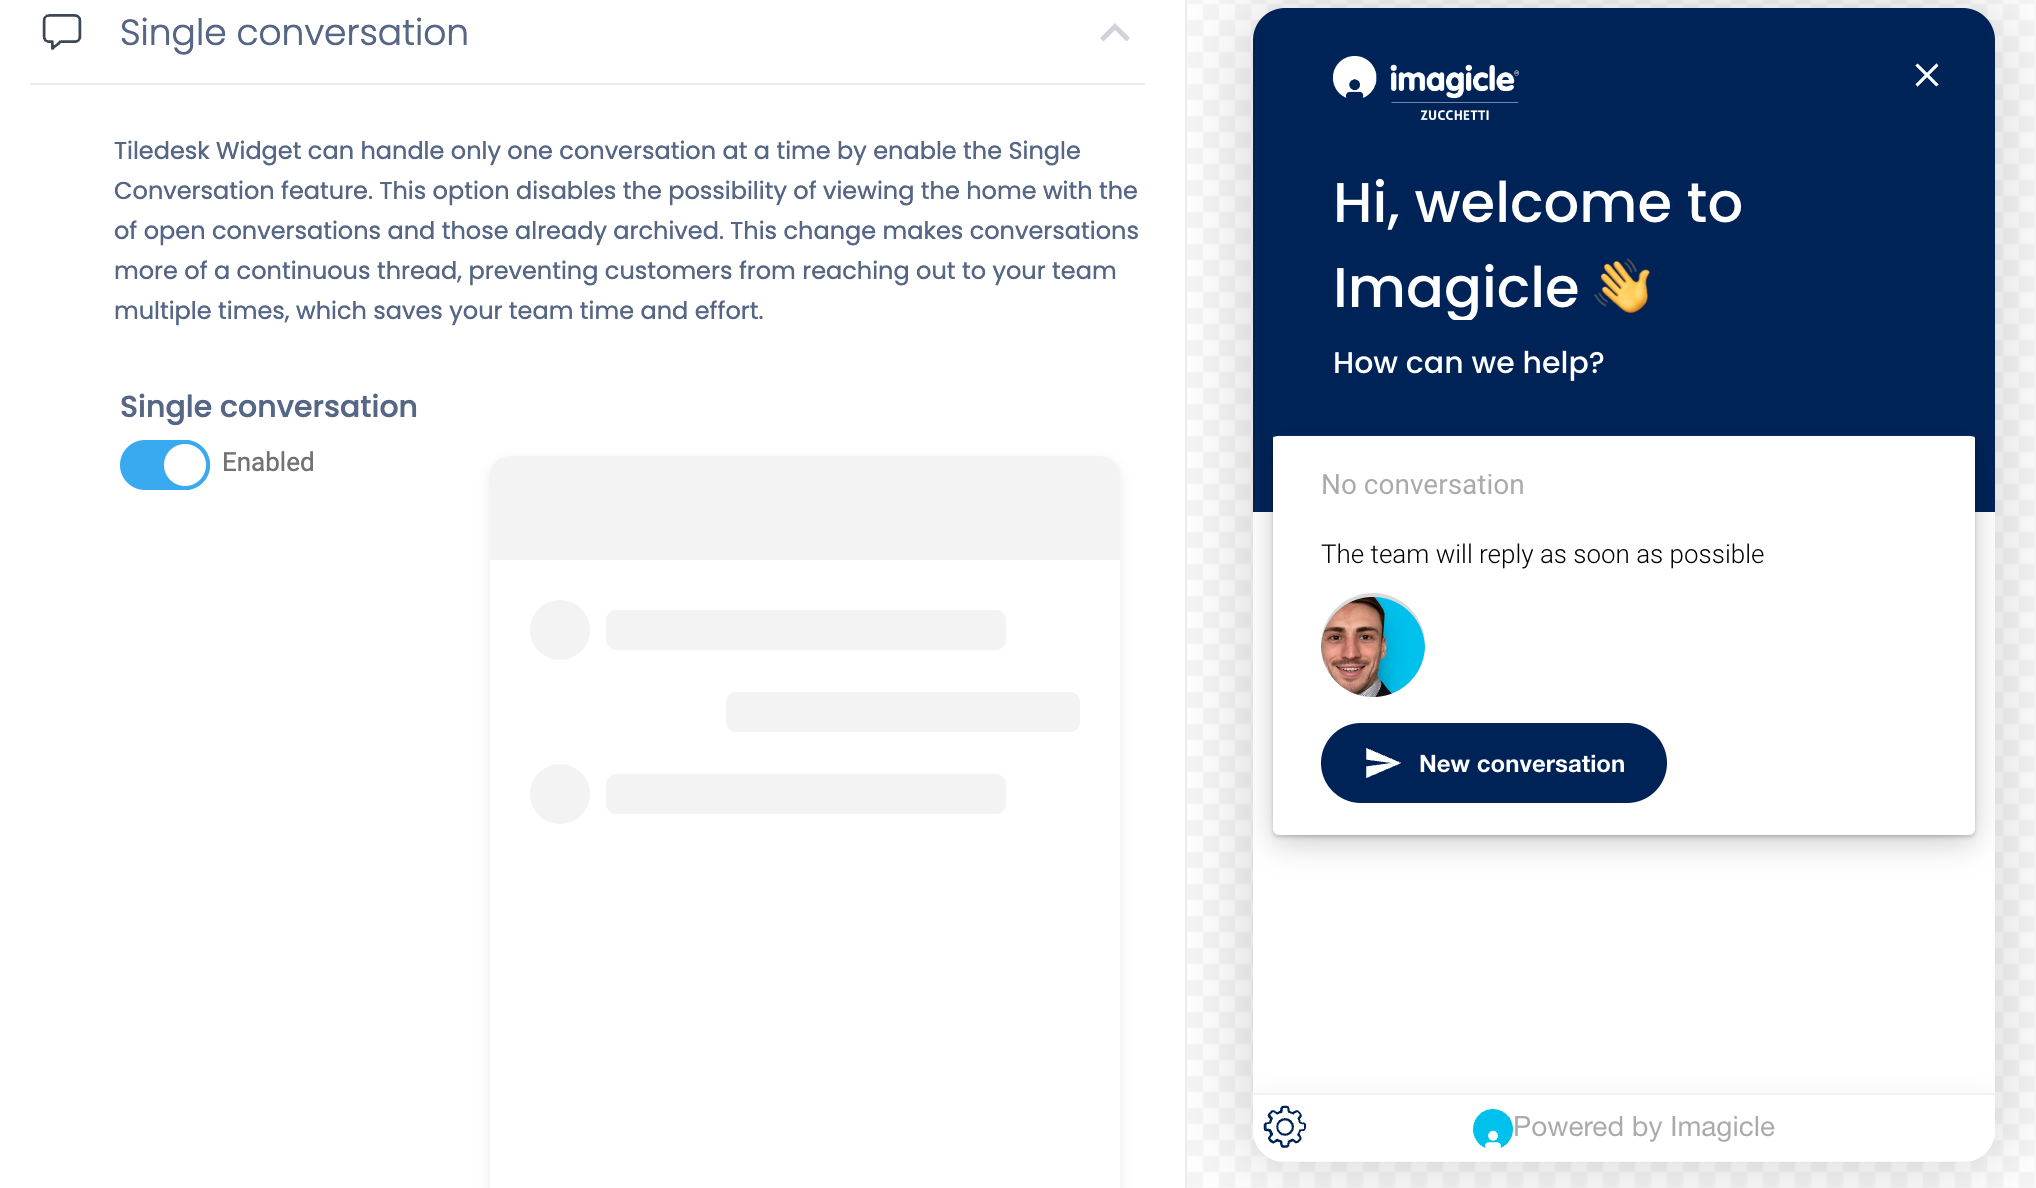
Single conversations enabled
Unbranding
From the unbranding section, you can customize the footer of the widget and the icon shown when the BOT is closed.

Greetings
You can customize some standard messages defined inside your chat BOT widget that will be shown in different situations. From the Greetings section you can handle:
welcome message and team intro are shown on the chat BOT when the user open the widget before starting a conversation;
online message is shown when the user click on the widget and at least one member of one of your team is online. It is not possible to specify a department or group to consider, all the agents are taken into consideration;
offline message is shown when the user click on the widget and all the members of all your teams are offline. It is not possible to specify a department or group to consider, all the agents are taken into consideration;
closed offices message is shown when the user click on the widget outside of opening hours. This message is shown only in case of opening hours are configured, otherwise is ignored.
To customize the other messages, go under the multilanguage section, from where you can also manage language translations.

Reply time
This section provides options for how the BOT can inform contacts about expected reply times. There are two scenarios: reply always with the same message or reply dynamically, sharing the team's average response time.
If you select “Always with the following message“, the BOT always displays a fixed message regardless of actual response times.
Instead, by selecting “Dynamically, sharing the team's average response time“, you can configure two messages:
“Average reply time available”: this message is dynamically generated and includes a placeholder ($reply_time) that will be replaced with the actual average reply time. This gives the user a clearer idea of when to expect a response;
“Average reply time not available“: this message is displayed if the average response time is not currently available. It reassures users that the team is committed to responding promptly, even if the exact timing is not specified.

Callout
Set your callout message and when it will appear to the user.
The callout feature is designed to:
encourage interaction: prompt users to interact with the chat BOT when they visit a webpage;
provide assistance: offer immediate support or information without requiring the user to search for it manually;
increase engagement: boost user engagement by presenting a friendly and approachable way to get help.
It is possible to set the following parameters:
“Enable / disable Callout”: this flag allows to enable or disable the callout feature;
“Timer”: it triggers the callout after X seconds, ensuring it catches the user's attention shortly after they land on the page;
“Title”: it is a message that should be short and engaging, immediately letting users know that they can get help if needed;
“Message”: it is the call-to-action that invites users to engage with the chat BOT by clicking on the widget.


Pre-chat form
The pre-chat form requires the user to leave his data (like first and last name) before entering the chat BOT. Depending on your needs, this can be enabled or disabled. You can also build some custom fields if you want to allow it to.
The pre-chat form is a feature that allows to collect user information before initiating a chat session. This information can help tailor responses, direct queries to the appropriate department, or assist human agents in providing more personalized support, since they are displayed on the agent panel. The collected information are stored within SmartFlows database.
These are the parameters:
“Enable Pre-Chat Form”: this option allows to turn on or off the pre-chat form feature. When activated, users will see the form and be required to fill it out before they can start chatting. When disabled, users can directly start a chat without filling out any form;
“Pre-Chat Form Title”: this setting allows to set a title for the pre-chat form. The title should clearly communicate to users why they need to complete the form, encouraging them to provide accurate information;
“Enable Custom Fields“: this setting allows to add custom fields to the pre-chat form to collect specific information relevant to your business needs.


Installation
Here, you can find the directions about how to add the chat BOT on a wide range of tools like your website or other platforms. Chat BOT can also be embedded as a gadget inside the Cisco Webex app, MS Teams client, or Cisco Finesse.
For example, if you want to add the chat BOT to your corporate website, open the “Javascript“ tab and copy the script into your website's HTML source between the <head> tags. Once done, open your website and the chat BOT widget should appear in the bottom right corner.

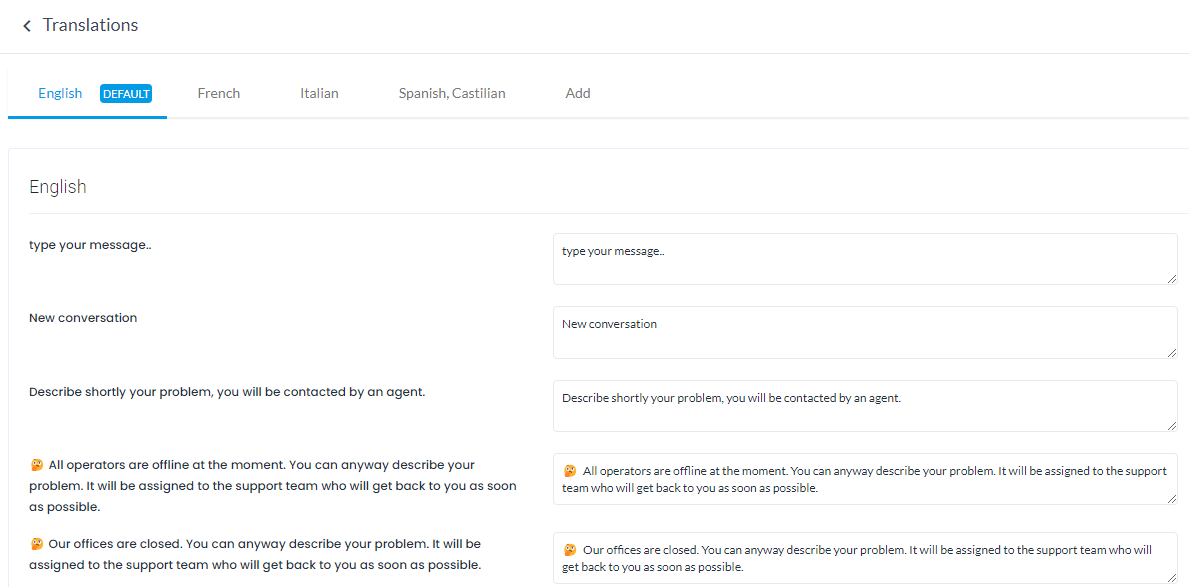
Multilanguage
This section allows to configure the default fallback language used by the chat BOT widget, this means that all the labels will be localized in that language. By default, the chat BOT widget will use the user browser language, if available. Otherwise, it will use the language configured as a default.
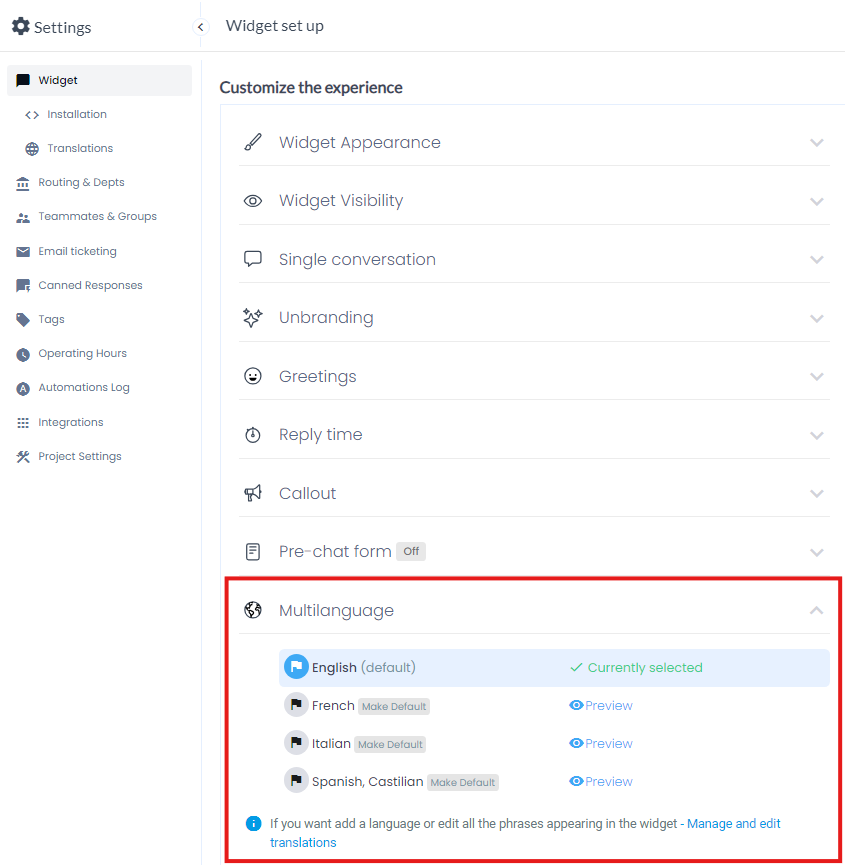
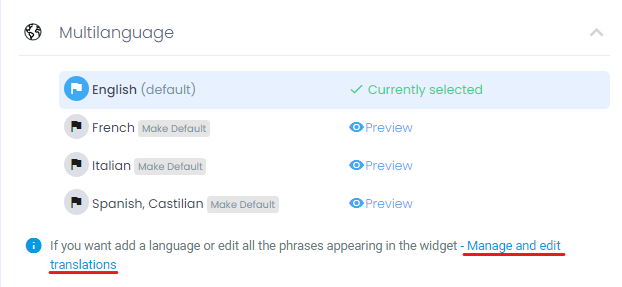
It is also possible to change labels for an existing language and add a new one as well. These options are available from the Translation section, which is accessible from two places:
Settings → Widget → Customize the experience → Multilanguage → Manage and edit translations
Settings → Widget → Translations
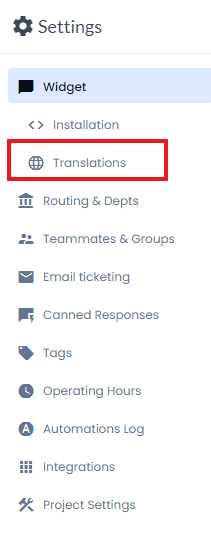
From here is possible to amend existing labels and add new languages